Very Good Cooling!
Overall
Summary
All around great CPU cooler.
Pros
Very good cooling and not huge.
Cons
Not your standard installation.
Do you hate the puny stock heat-sink and CPU fans included in the package when you purchase a new processor? Yeah, me too! Do you by default just set the stock stuff aside and install your big boy heat-sink and fan? Yeah, me too. Then you know very well that when you overclock any CPU every degree you can lower the temperature the longer it will live.
But any off the shelf heat-sink and fan combo won’t do. You need the best air cooling heat-sink and fan if you are not going with water-cooling. That is why we test many different heat-sinks and fans from many different manufactures to see how they perform and also compare then side by side. Today we have the Thermaltake Frio CPU cooler to put to the test. Keep reading to see how it fairs against others in the same category.
PACKAGING AND DESIGN
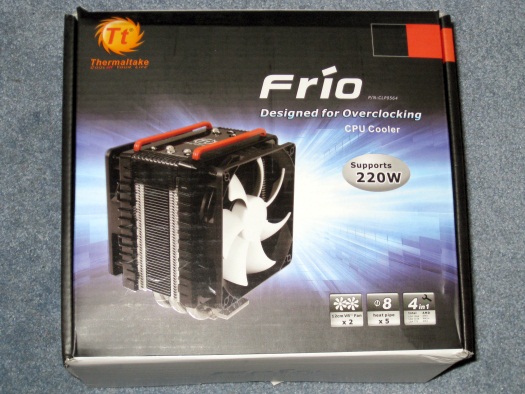
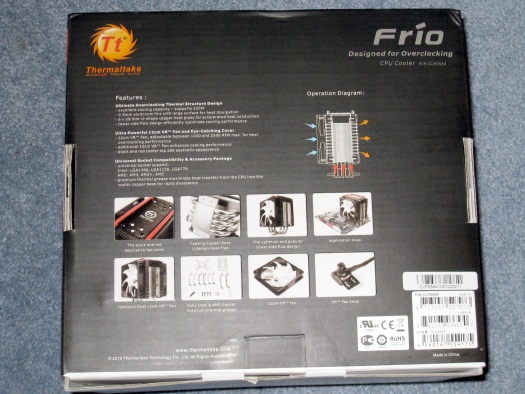
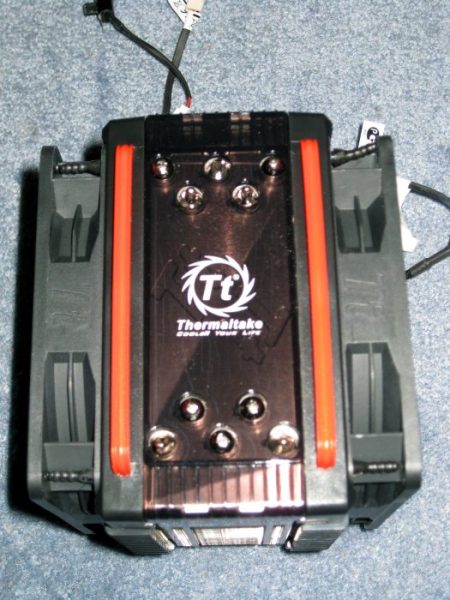
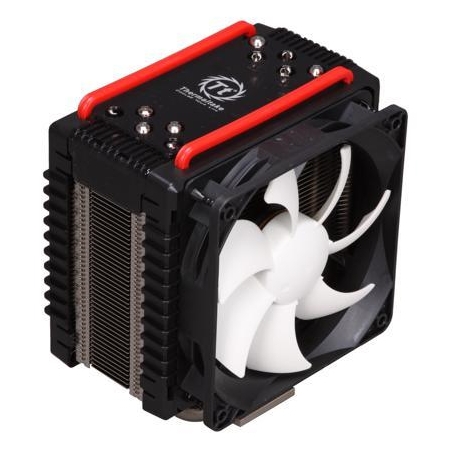
Like most other higher-end CPU coolers, this one is in the same size range so you should really install this in a mid to full-size case (for better airflow). As usual, big CPU coolers come in big packages and the Frio is no exception. The packaging is pretty attractive with the picture of the Frio itself on the front with the Thermaltake logo on a black background. The back of the box has more pictures and a list of main features. The sides have specifications and other related information.
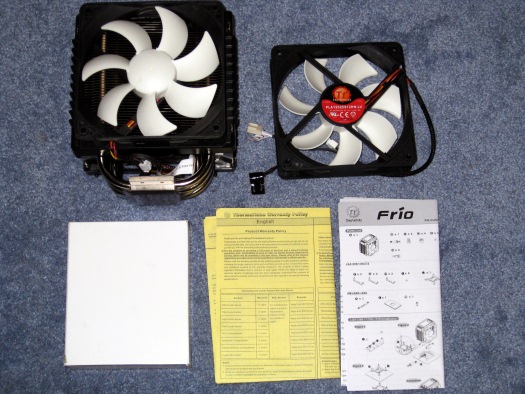
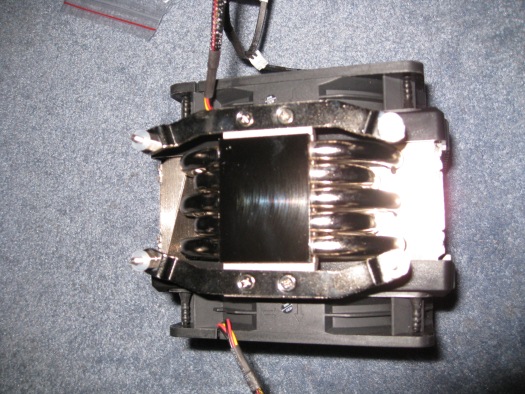
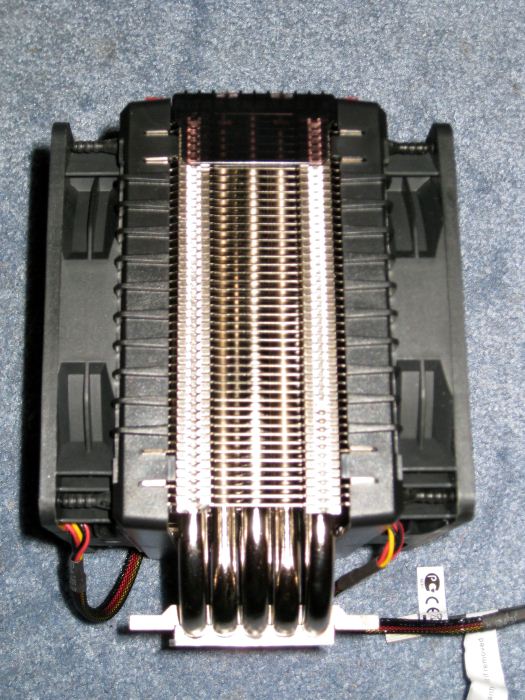
Upon opening the package, all you see is Styrofoam that helps protect the heat-sinks fins from damage. The contents include the Frio heat-sink with one fan attached, a second fan, installation hardware (backplates, brackets, and screws), a small tube of thermal compound, and the manual.
INSTALLATION
As with most, if not all, high-end CPU cooler, you will need to replace the backplate on the motherboard with one that comes with the Frio. If you have done this before or are replacing another aftermarket CPU cooler than you can probably use the existing backplate, but I would recommend using the one supplied so you don’t have any issues later. I installed this on my Gigabyte GA-870A-UD3 AM3 motherboard that has an AMD Phenom II X4 965 processor installed on it. Since I have an AMD compatible motherboard and an AMD processor, I will be using the AMD installation hardware.
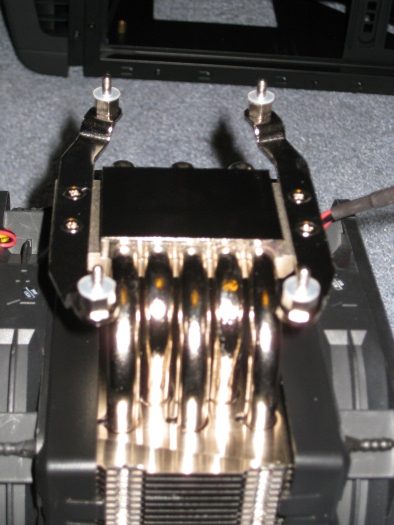
First, you need to remove the retention module by unscrewing it from the top but making sure that you don’t lose the back-plate. Then you will need to attach the curved mounting bars (with the plastic washers) supplied in the package for AMD boards. Just make sure that the curved sides of the mounting bars are pointing inwards (towards the CPU).
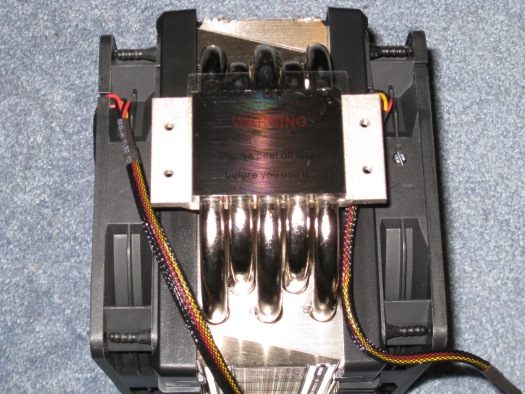
Now, just apply the thermal compound on the CPU and place the cooler on it (make sure the plastic cover is removed from the base of the heat-sink). Now, comes the tricky part of screwing the heat-sink to the mounting bars. You have to secure the two screws to the screw threads of the mounting bars (tightly, but not too tight). Once the heat-sink is secure, you can attach the second fan (use the supplied vibration-absorbing soft mounts). Connect the power connectors to the fan power connectors on your motherboard. That’s all, you are done.
TEST SYSTEM
| Motherboard | Gigabyte GA-870A-UD3 AM3 (USB 3.0) |
| CPU | AMD Phenom II X4 965 Black Edition 3.4GHz (4 cores) |
| RAM | G.Skill Ripjaws Series 4GB (2 x 2GB) 240-pin DDR3 PC3 12800 |
| Graphics Card | PNY GeForce Verto GTS 250 1GB |
| Storage | Seagate Baracuda 320GB SATA (3.0 Gb/s) |
| Optical Drive | Sony CD/DVD RW |
| Power Supply | Thermaltake Thoughpower XT 775W |
| Case Cooling | Various Intake and Exhaust Cooling Fans |
| PC Case | Thermaltake Element G |
| Operating System | Microsoft Windows 7 Enterprise 64-Bit |
TEST METHOD
First, I will test the system at idle by leaving it idle for 1 hour. Then I will perform a load test using CPU Burn-in v1.01 for 1 hour also. I will use Gigabyte’s EasyTune 6 (ET6) utility to monitor the temperatures. I will then install the Thermaltake Frio CPU cooler and perform the above tests again. Then we will compare the stock heat-sink and Frio test results along with some other CPU coolers to see how much improvement we actually get. I will not be able to compare it with any other CPU cooler because this is a totally different test system.
RESULTS
Looking at the results, we can clearly see that the Frio is right there with some of the best CPU coolers on the market. The Noctua NH-D1, Noctua NH-C12P, the Spire TherMax II, and the Frio are in very close range of each other while the Evercool Transformer 4 and the Stock AMD heat-sinks join their hand together in shame.
So at idle, the stock AMD CPU cooler maintained a temperature of 51oC, Spire TherMax II was at 28oC, NH-D1 was at 27oC, Transformer 4 was at 42oC, the NH-C12P was at 30oC and the Frio was at 29oC on average after one hour. However at full load, the stock AMD CPU cooler peaked at a boiling 86oC, the TherMax II at 37oC, NH-D1 at 35oC, Transformer 4 at 70oC, the NH-C12P at 45oC and the Frio at a mere 40oC on average after one solid hour. While the Frio is not the top performer here, it is very close to the top.
FINAL THOUGHTS
The Thermaltake Frio CPU cooler is an excellent choice for an average or enthusiast computer setup. The performance is excellent and the fans are very quiet. The overall installation was fairly easy but not as easy as I would have expected (not tool-free installation). The fans provide awesome cooling and would be good with some overclocking also. The cooler performed very well in all our tests and it beat the AMD stock, the Evercool Transformer 4, and the Noctua NH-C12P coolers without any issues. Overall, the Frio is of decent size and provides very good cooling. I would highly recommend this CPU cooler for anyone looking to replace their stock heat-sink with something that can handle a lot more. The lowest price I found online for this was around $42 USD which might fit the budget of the everyday user.


