Easy audio and video extender!
Overall
Summary
An excellent product for any conference room with a ceiling projector.
Pros
Great quality and design. Works like a charm.
Cons
A little pricey!
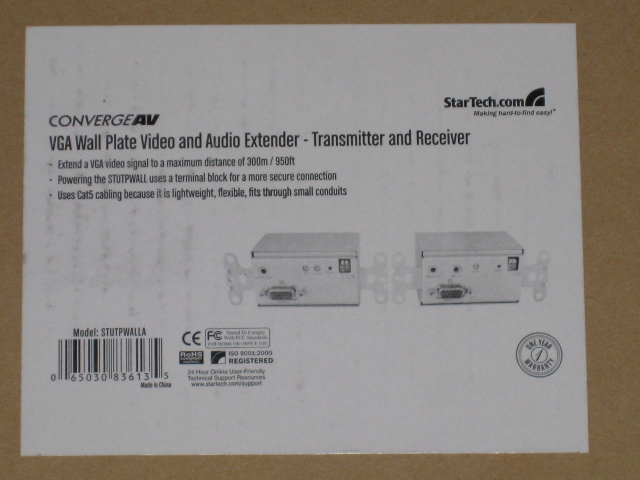
Have you been to a conference room with a projector on the table where you have unwanted shadows on the screen? Well, here is a solution that you just can’t afford to miss. How about using a VGA extender and mounting the projector on the ceiling where you will have no interference. The StarTech VGA Wall Plate Video Extender over CAT5/CAT6 with Audio (STUTPWALLA) will help you accomplish just that with ease.
All you need to do is install the input place on the wall close to the spot you want to transmit from and then one probably on the ceiling where you want to install the projector. Users will be very happy with the quality and ease of use of this product. Now, let’s see what it’s all about.
THE PACKAGE AND DESIGN
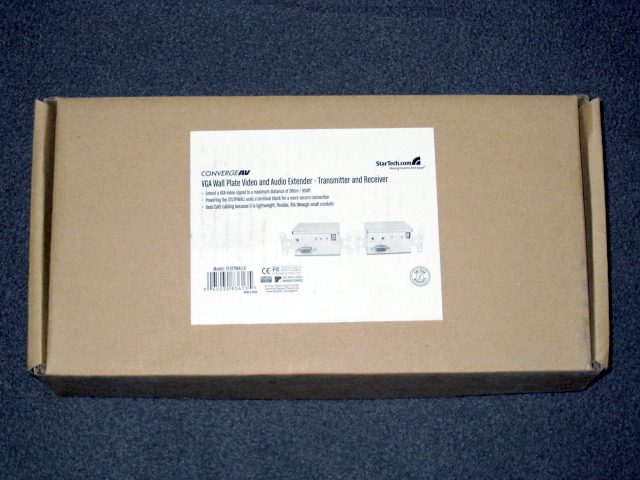
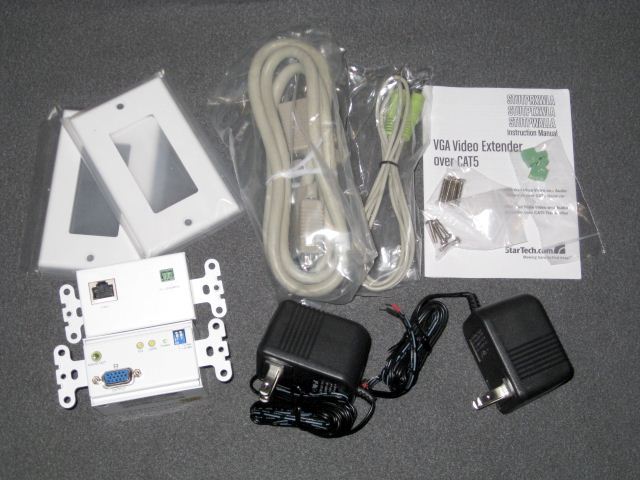
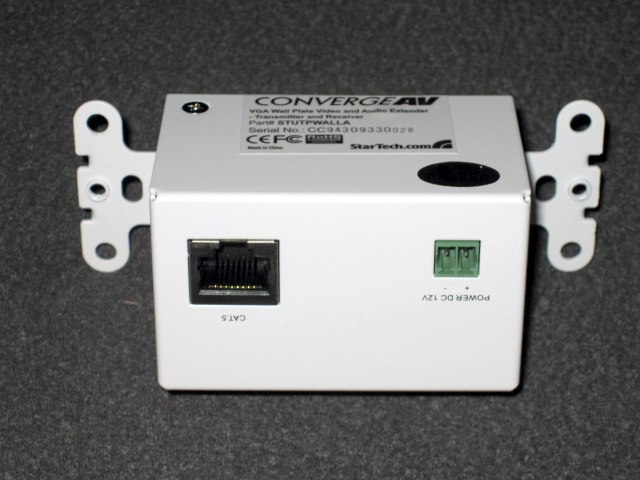
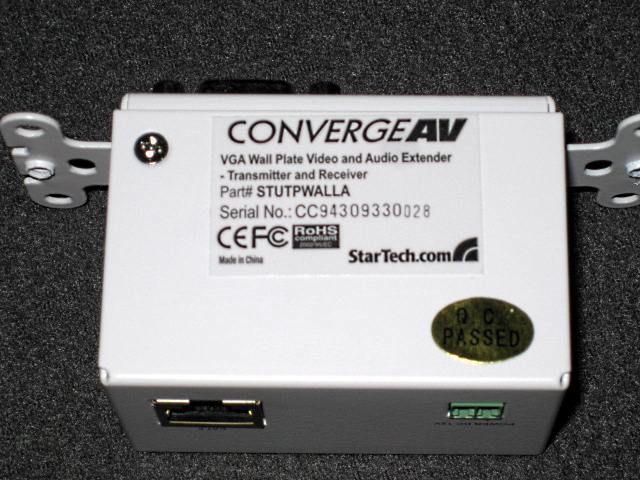
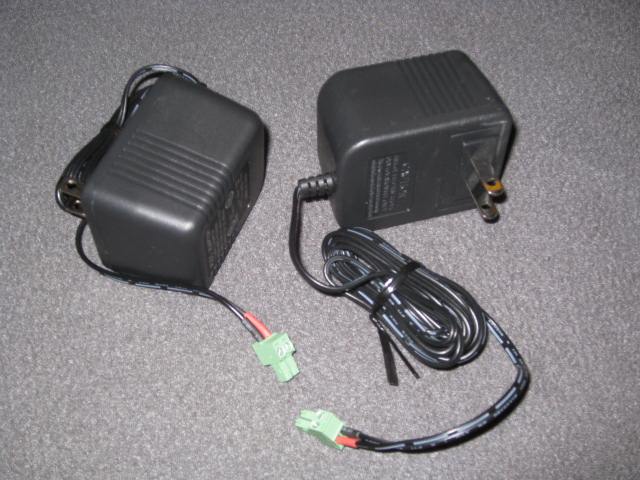
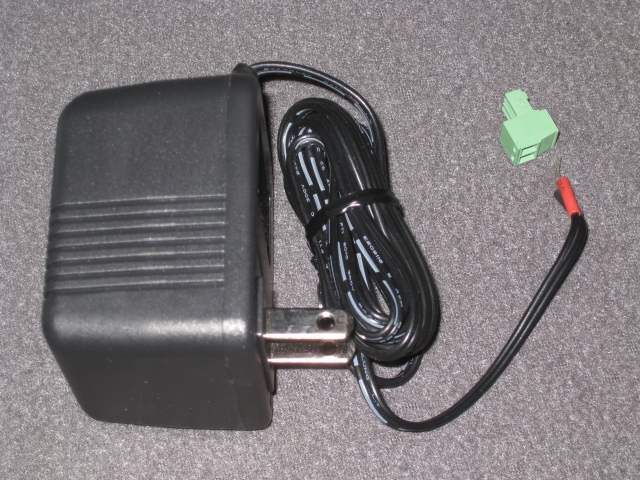
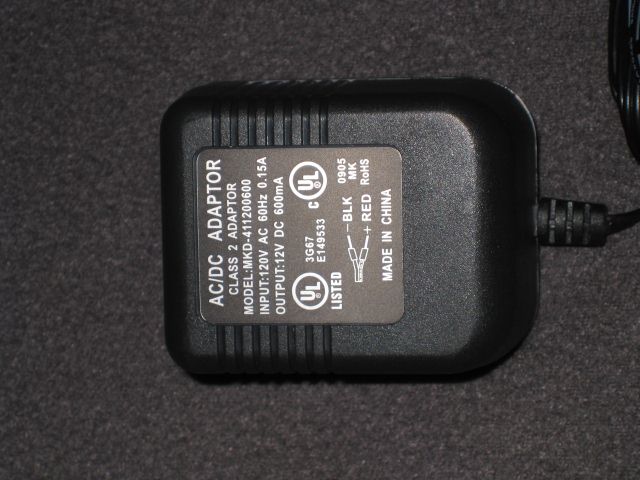
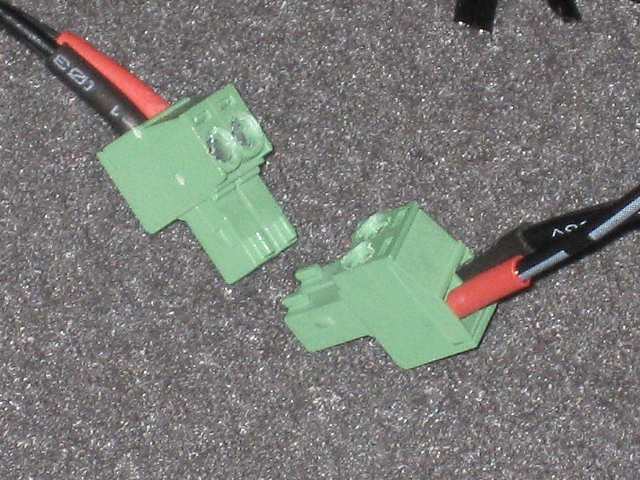
The package comes with one VGA transmitter and one VGA receiver, two AC power adapters, two-terminal block power adapters, two wall plate covers, the user manual, a VGA cable, an audio cable, and all the necessary screws. You will need two open wall receptacles for the transmitter and receiver unit installation, two available power outlets or power cables (if you want to make it look totally professional and hidden in the wall), a VGA video source (laptop, desktop, etc), and VGA enabled display device (projector, TV or monitor).
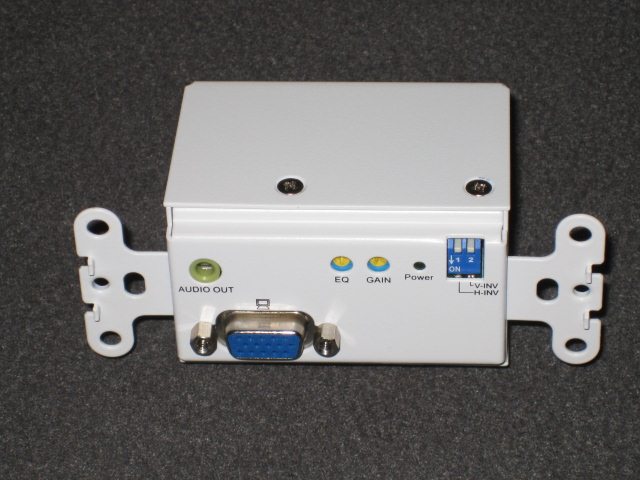
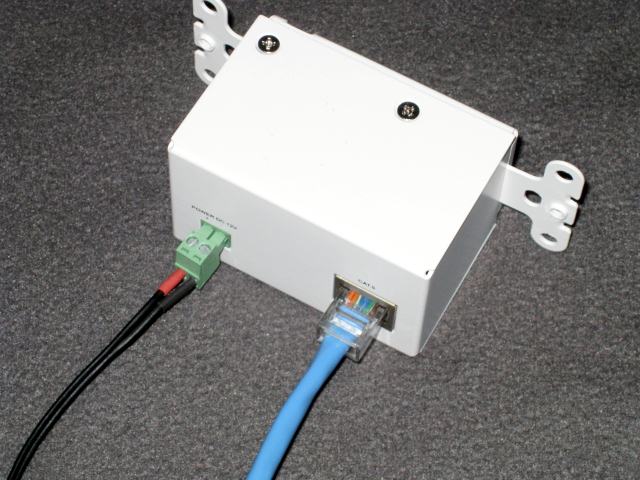
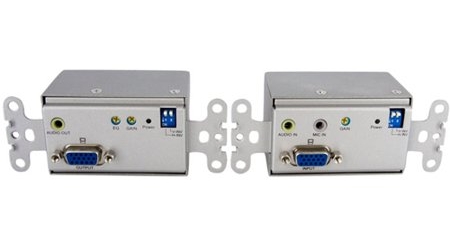
The transmitter has an Audio In/Mic In and a VGA input port on the front with a power LED, Gain controller, and the horizontal/vertical signal inverting switches. The back has a power connector port and an RJ45 port. The receiver, on the other hand, has an Audio Out and VGA output port with the power LED Gain and Equalizer controllers on the front with the horizontal/vertical signal inverting switches. The back has the same connectors as the transmitter.
THE INSTALLATION
Installation is pretty easy–you have to first make sure all devices are turned off before any installation. You should probably run the CAT5 or CAT6 cable in the wall/ceiling beforehand (this would be the hardest part of the installation). You can also run AC power cables too (for an outlet that you can probably install inside the wall if it is safe and permitted) if you want the installation to look professional and be seamless. Then install an outlet box (if not already present) in the wall–this is where the transmitter and receiver will screw in. Then connect the adapters for the AC cables and plug them into the transmitter and receiver. Do not forget to connect the CAT5/CAT6 cables also. If you see the power LED light up, you know it is ready for use. Just screw in the places and covers and you are all set to go test them.
USAGE
Now connect a VGA cable from the transmitter to any laptop or desktop computer and another VGA cable from the receiver to a projector or display device. Then boot up the desktop or activate the VGA port on the laptop by usually pressing the Fn (function) and one of the F keys (read the laptop’s manual to get the key combination). Once there is a signal going through the VGA cable to the transmitter, the receiver will pick it up and send it to the display device. If the picture quality is not good (probably the distance between the transmitter and receiver is too great or the CAT5/CAT6 cable used is too long), then you can try turning on the vertical and horizontal signal inverter switches on the transmitter and receiver. If the brightness is not enough, use the Gain control to adjust it. If the picture seems out of focus, use the EQ control on the receiver to adjust the sharpness.
EXPERIENCE
I personally didn’t install it inside the wall but I did test the video and audio between my computer and monitor. The monitor has built-in speakers and there is a port on the back for audio input. So, first I connected a CAT5 cable between the transmitter and receiver and also connected the power cables for both. Then I connected a VGA cable from my desktop’s video card to the transmitter and another VGA cable from the receiver to my monitor. Then I simply booted up my computer and it detected the display as if it was directly connected to the video card. I also tested with my Lenovo Thinkpad T60 laptop to see if that worked without needed to shut down or reboot. So I powered up the laptop and then connected a VGA cable from the laptops VGA output port to the transmitter and simply activated the port on the laptop to start sending the signal (Fn + F5 key in this case). This worked like a charm.
FINAL THOUGHTS
This StarTech VGA Extender will help a lot of conference rooms look and work more efficiently. I am sure the price of $314.99 should not be too much for any company but if you want this for your home or small business, then it may be a bit expensive. However, if you see how easy it is to install and use, you will not look elsewhere. StarTech really did a great job with this product when it comes to ease of setup and use. The picture quality is also very good. I would highly recommend this to anyone or any business looking for an easy and more efficient way to present.


